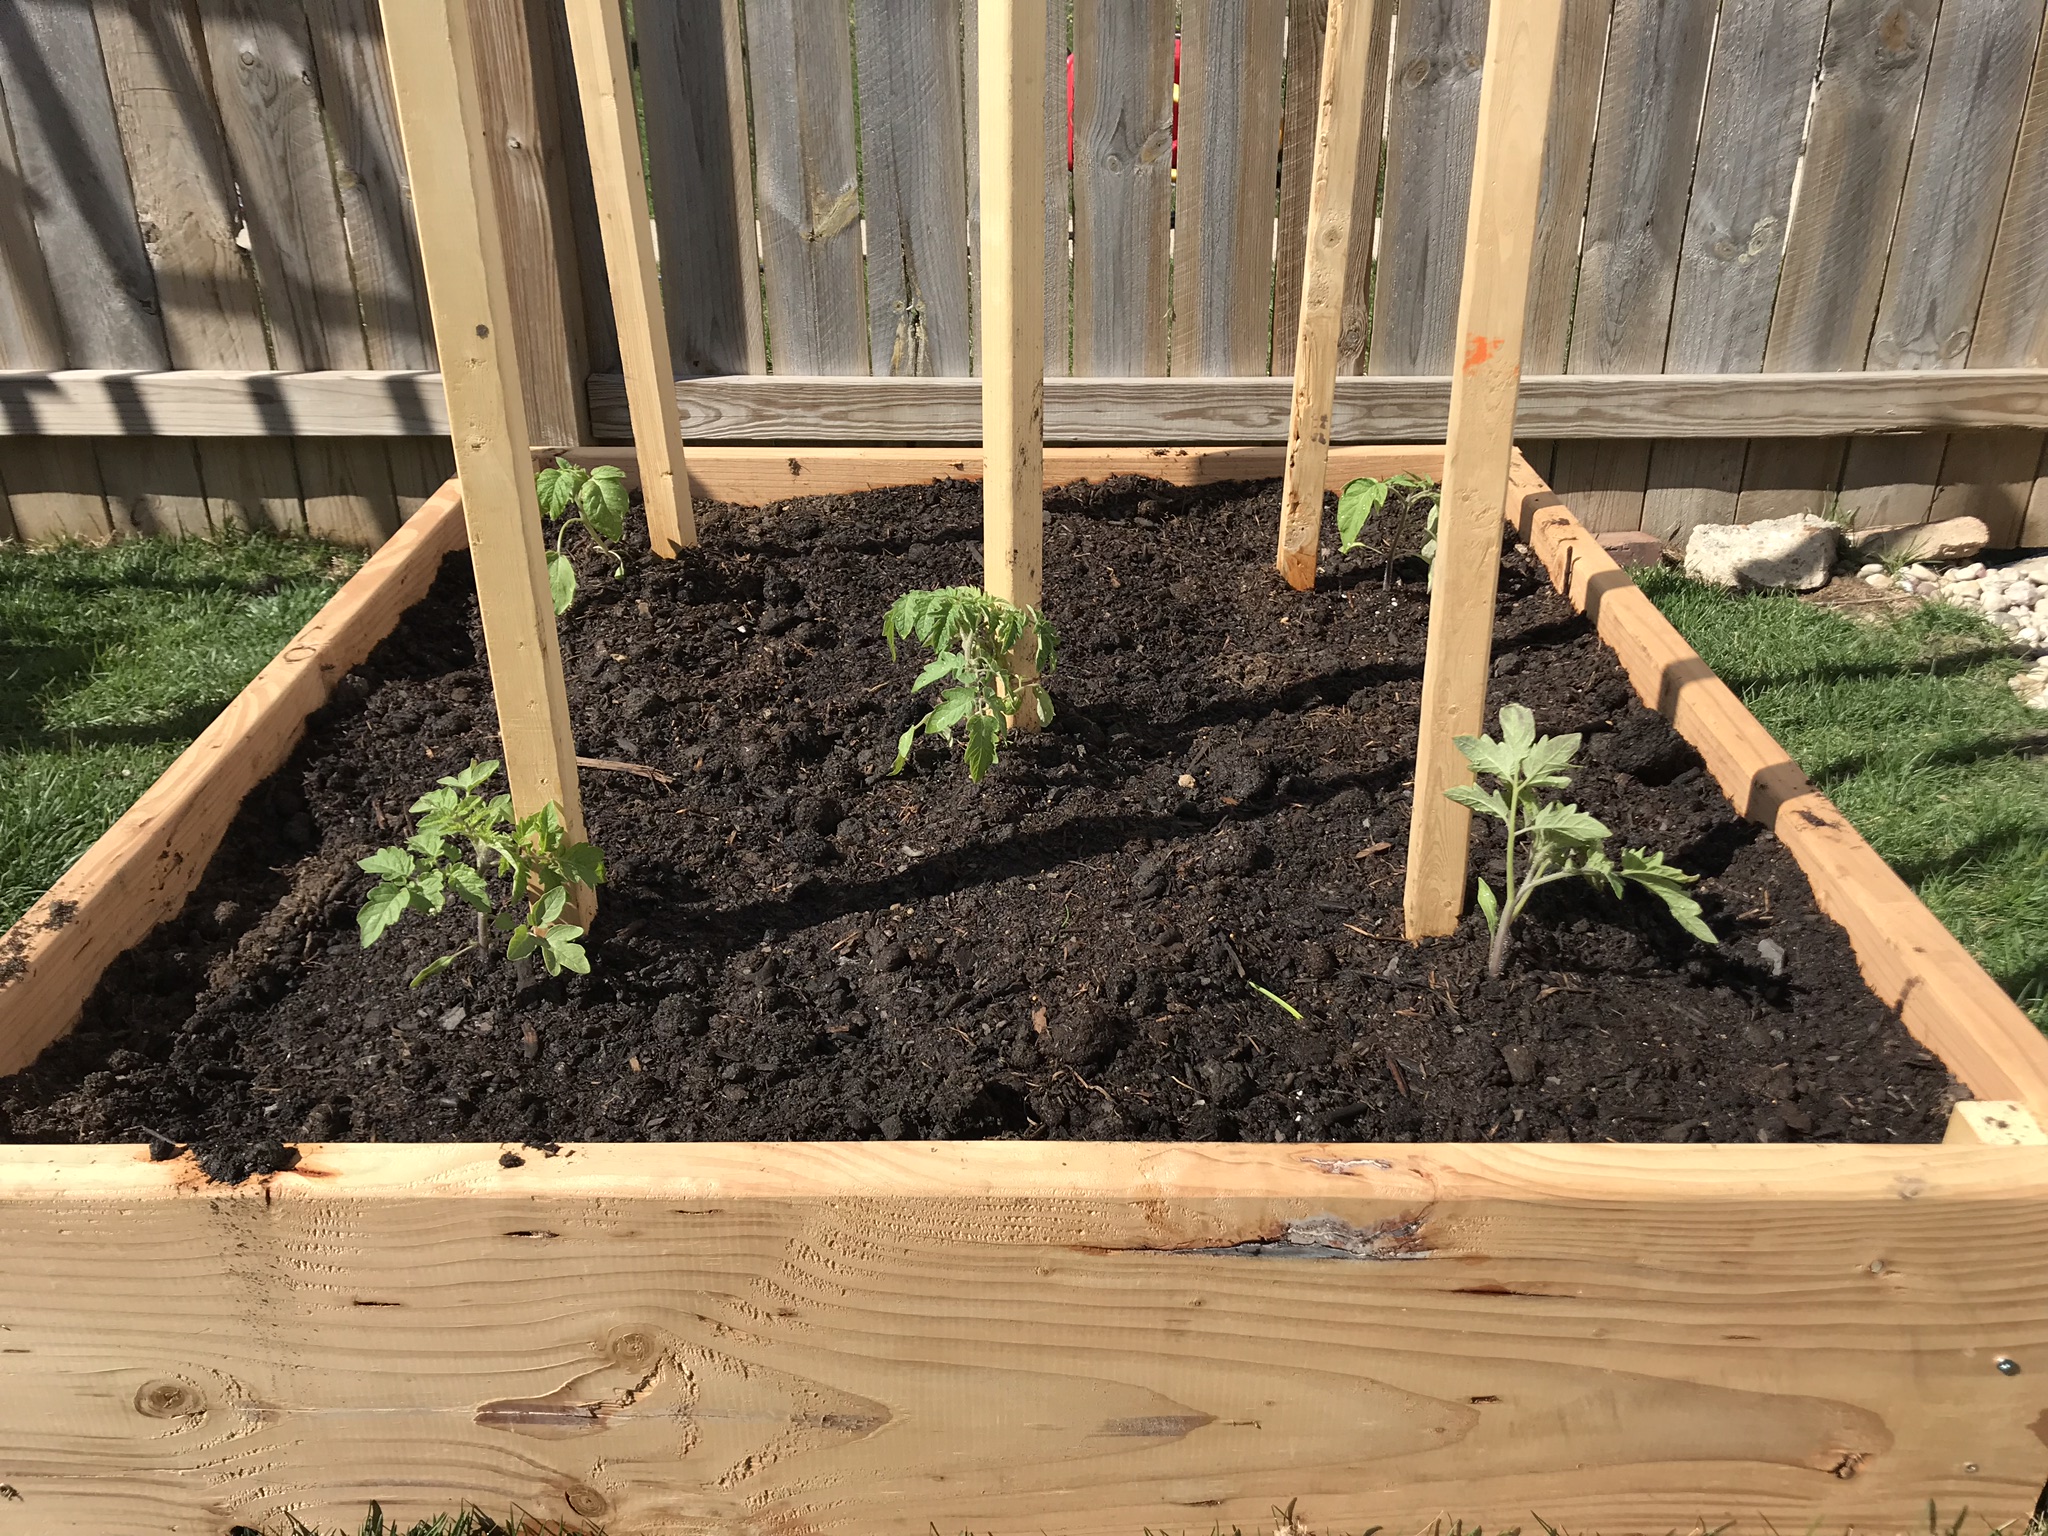
How to Build a Raised Bed
Simple step-by-step instructions for how to build a raised bed for vegetable gardening.
How to Build a Raised Bed
Growing vegetables in a raised bed has multiple advantages: it allows you to control the soil your vegetables grow in, it can be placed in an optimal spot for sun exposure, and it helps organize your growing space. You can buy pre-made raised beds, but for much less money (less than $50) and 1-2 hours of your time, you can make your own that is customized to your space!
Just follow the steps below….
Step 1: Determine placement and size of Your Raised Bed
Find a place in your yard that gets at least 6 hours of sun per day. Then determine how big you’d like your raised bed. We recommend a minimum of 16 square feet to give you ample room to grow a variety of vegetables. The material list provided here will support a 4’ x 4’ bed or a 2’ x 8’ bed. For larger raised beds, increase the total length of your lumber boards. The other materials, equipment, and steps are all the same.
Step 2: Buy Materials
You’ll need the following items that can be obtained at any big box store or lumber yard.
1. 16 feet of 2” x 12” untreated lumber.* Have your lumber yard cut down large boards to the length of your raised bed sides.
2. 4 feet of 2” x 2” untreated furring strip board
3. 1 box of 2 1/2” deck screws
*You can make a raised bed with 2” x 8” or 2” x 10” boards, but we think the added depth of the 12” high boards provide the best growing experience. A deep raised bed will ensure all vegetables have enough space to grow to their full potential, and will also prevent any weeds or unhealthy substances from seeping up from the natural ground into your crop. If your raised bed is shorter than 12”, we suggest putting down landscape fabric between the ground and the soil before you plant.
Step 3: Make sure you have the right Equipment
To complete this project you’ll need:
1. Power drill
2. Drill bits
3. Hand saw
Step 4: Cut The strip Boards
Using a hand saw (or a circular saw if you have one), cut your 2” x 2” strip board down to four 12” lengths to match the height of the sides of your raised bed.
Step 5: Affix the strip boards to two sides of the bed
On one of your 2” x 12” boards, screw two pieces of strip board flush to each end. This will be easiest if you drill pilot holes first using a drill bit smaller than your screws, then screw each strip board into the 2” x 12“s using 3 screws. Repeat this process for one more side of your raised bed (two of your four sides should have two strip boards attached on each end).
Step 6: Join The corners together
Prop up a side without the strip board against a side with the strip board. Then drill pilot holes and join the two sides using three screws. Both sides of the raised bed should now be joined through the strip board. Additional screws can be used if the connection between the two sides needs more strength.
Step 7: Repeat on all four sides and you’ll have a raised bed!
Now go out there and grow!


